
I saw a video of some one who had made a oscillating steam motor with the glass blowing technique.
Since I have no skill in glass blowing, I decided to make one using readily available glass stock.
I saw a video of some one who had made a oscillating steam motor with the glass blowing technique.
Since I have no skill in glass blowing, I decided to make one using readily available glass stock.

The inlet and out let valve are two tubes that fit into each other with very little clearance.
The larger tube is blocked off as is shown.
In this entire project, I used a glass glue that is hardened using a UV curing light.

I trimmed it off and polished the edges using a felt buff with diamond powder.

I drill two holes in the glass to provide for the air inlet. I use a oxy/gas torch to bend a piece of 6 mm tubing that will be the conduit for the incoming air/steam. I ran the motor on air but is could just as well be steam. So I use the term air and steam interchangeably.

Gluing the thinner tube in place.

Here the inlet tube has been glued in place.

The inner and outer tubes that will form the inlet and outlet valve.

Like this.

The outer tube is stationary, so I made a stand for it.

Gluing the outer tube to the stand.

The left side will be the moving component of the motor.

I drill the inlet and outlet holes in the outer tube first.

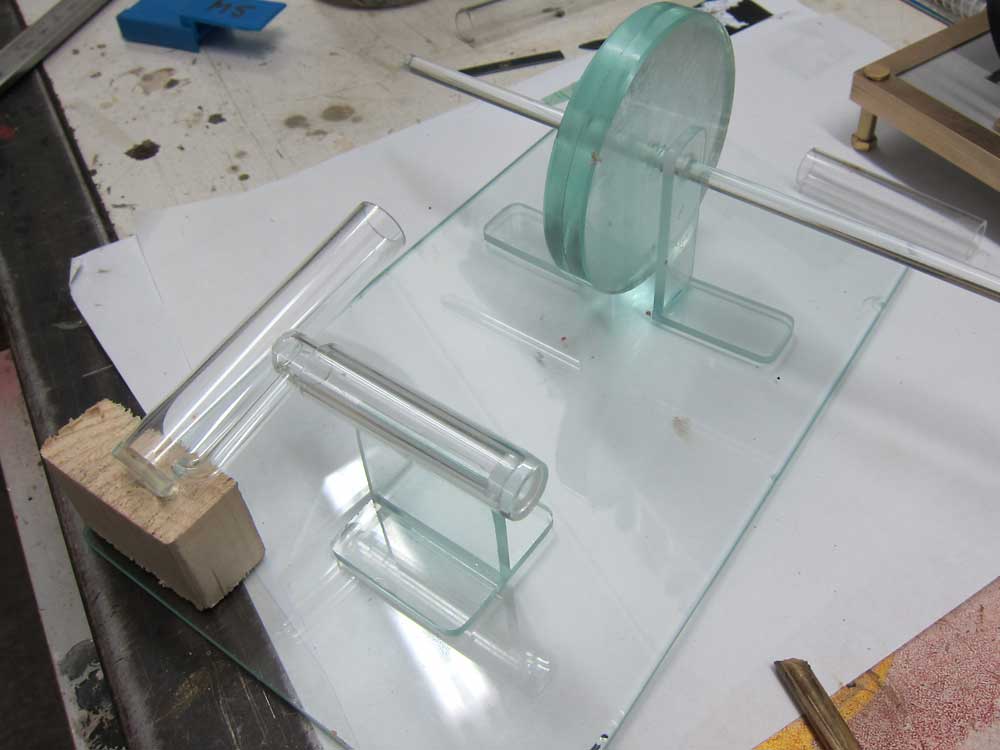
Making the fly wheel stand.

The fly wheel will spin in between these two stands.

For the flywheel I used two pieces of 6 mm glass that I glued together and the drill a 6 mm hole through both.

Then I used my Imahashi gem cutting to made the flywheel round.

I polish the edges with 50,000 grit diamond powder mixed with Vaseline and a felt buff.
Glass is soft, so it goes quickly.

I set the flywheel stand up and carefully glue the flywheel to the center spindle.
I make sure there is no glue that runs into the stand.
The flywheel must spin freely when the glue is cured.
Then the flywheel stand is glued to the base glass along with the cylinder stand.
These are carefully aligned.

For the piston, I glued two pieces of glass together and then trimmed then to the correct size on my Imahashi.

I glued the piston to a thin 3 mm glass strip that I shaped on a diamond wheel.
Thin at the front and the tapering to a wider section at the back where the gudgeon pin goes in.
I glued the inlet and outlet tube to the outer valve tube.
I use some wax wire to hold them in place while the glue cures.
Later I also glued a bridging tube in between them to strengthen them.

I forgot to take pictures of the small end and pin, but is is basically a piece of flat 3 mm glass with a hole for the flywheel axle and a gudgeon pin attached.
The gudgeon pin is then connected to the connecting rod.
I have a video of it running here.
Below is my contact email and other websites.
hansmeevis@gmail.com http://meevis.com/jewelry-catalog.htm https://www.jewelry-tutorials.com/ https://www.drill-straight-tools.com/